If you wish to transfer MATIC or other Polygon tokens to Ethereum, you can do it via the Plasma Bridge. Note that the Plasma Bridge only supports the transfer of ERC-20 and ERC-721 tokens, which include ETH and MATIC.
Step 1: Adding Polygon to MetaMask
1. To do so, click the [Switch to Polygon] button on the top. Make sure that you’ve already connected your MetaMask wallet.


2. You’ll see a pop-up from your MetaMask extension with the Polygon network details. Click [Approve].

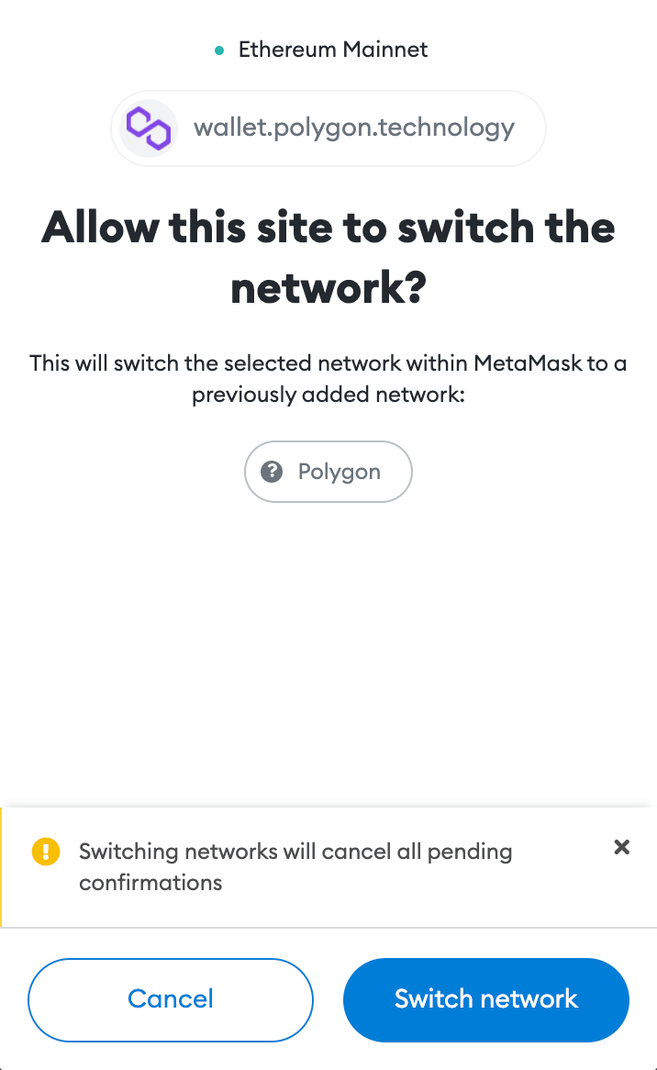
3. Done. The Polygon network has been added to your MetaMask. Now, you need to switch your MetaMask from the Ethereum Mainnet to the Polygon network. You can do so by clicking [Switch network].
4. You can now see MATIC in your MetaMask wallet.

Step 2: Bridging MATIC to Ethereum using MetaMask
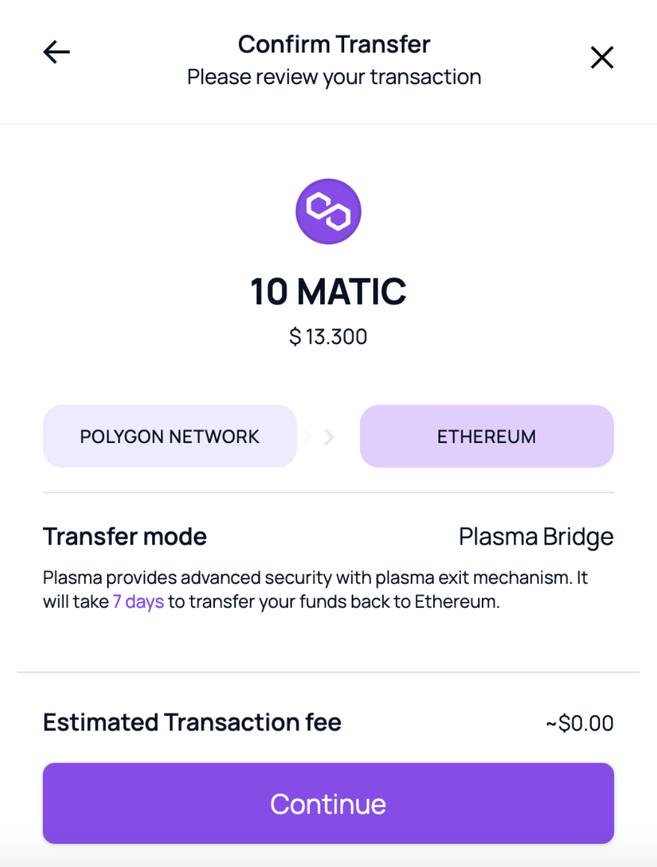
1. Go to the [Bridge] interface and click [Withdrawal]. Choose [Matic Token] from the token list, enter the amount and click [Transfer].
The system will automatically select [Plasma Bridge] for the transfer mode.

2. Read the important notes and click [Continue] when you are ready.

3. You’ll also see the estimated gas fee for this transaction. If you are ok with the gas costs, click [Continue] to proceed.

4. Review your transaction details before clicking [Continue].
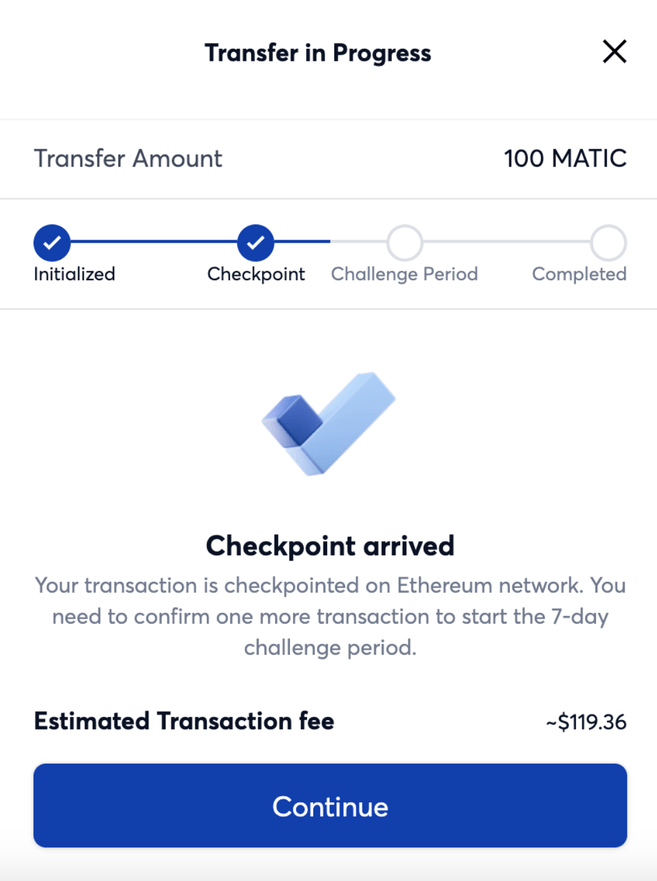
5. A MetaMask pop-up will appear for you to confirm the transaction. Click [Confirm], and you’ll see the transfer in progress.
You need to manually confirm three transactions for a Plasma Bridge transfer. The first one is to initiate your withdrawal from the Polygon wallet, which could take up to 3 hours.

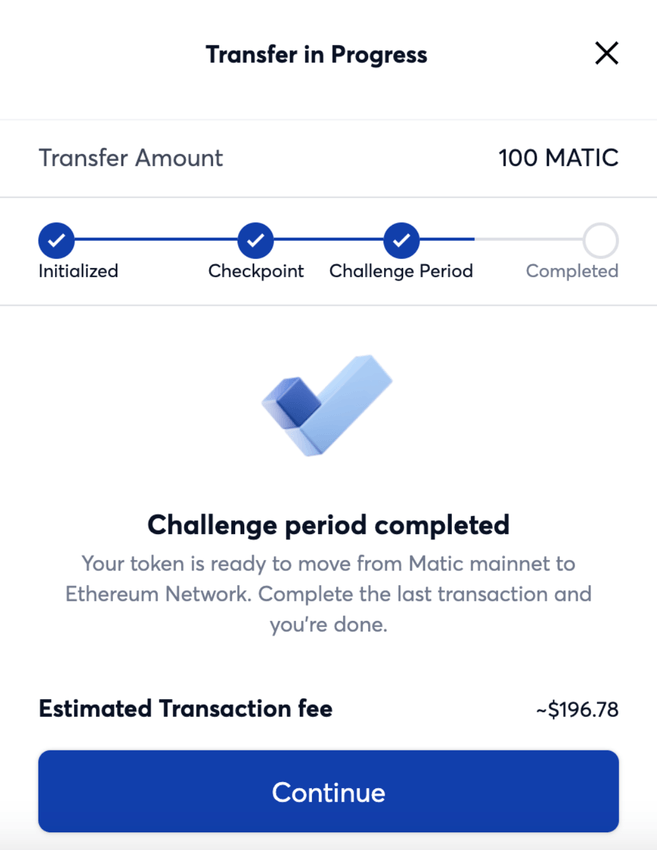
6. Once the checkpoint arrives, it means that your transaction is validated on the Ethereum blockchain. You need to confirm a second transaction to start the challenge period. This is a measure to offer increased security for withdrawal transactions.
7. After the challenge period, all you need to do is click [Continue] to send the MATIC tokens to your MetaMask wallet.