Course Content
How to Use the Polygon Bridge?
The Polygon Bridge allows users to quickly transfer ERC tokens and NFTs to the Polygon sidechain. There are primarily two bridges on Polygon, the Proof of Stake (PoS) Bridge and the Plasma Bridge. Both can bridge assets from Ethereum to Polygon (and vice versa), but they adopt different security methods. The PoS Bridge uses the Proof of Stake (PoS) consensus algorithm to secure its network. It supports the transfer of Ether (ETH) and most ERC tokens. It’s the recommended option for most users. The Plasma Bridge is for devs that need increased security. It uses the Ethereum Plasma scaling solution and supports the transfer of MATIC, ETH, ERC-20, and ERC-721 tokens.
0/7
How to Use the Polygon Bridge?
About Lesson

You can also use the Polygon Bridge to transfer tokens from Polygon to Ethereum. Similarly, you’ll need a compatible crypto wallet, such as MetaMask.

As mentioned, there are two bridges on the Polygon network: the Plasma Bridge and the PoS Bridge. The withdrawal time varies depending on which Polygon Bridge you’re using. The PoS Bridge withdrawal usually takes from 45 minutes to 3 hours, while the Plasma Bridge can take up to 7 days.

Let’s see how to transfer from Polygon to Ethereum via the PoS Bridge. 

1. Click [Withdrawal] on the [Bridge] interface. Choose the tokens you want to transfer to the Ethereum network.

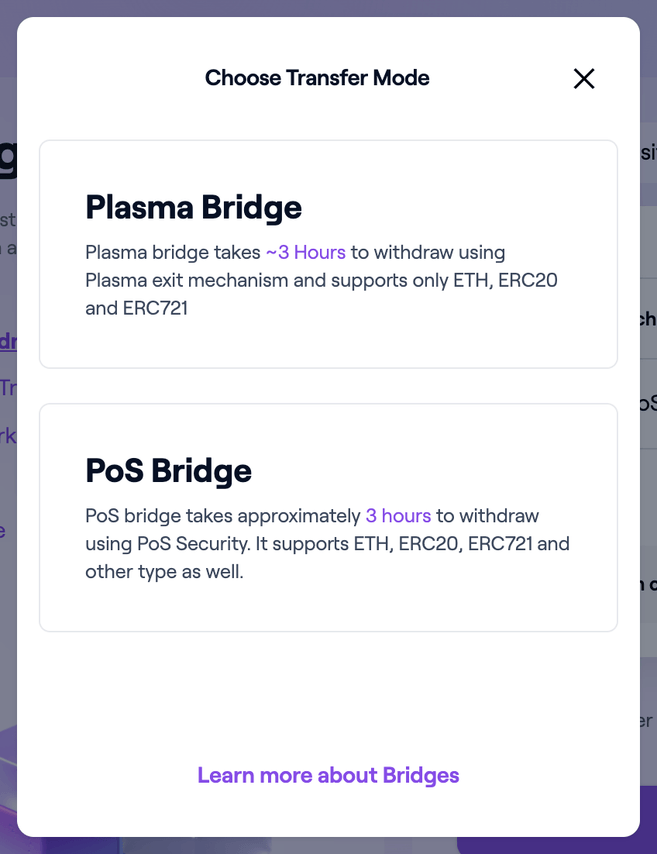
2. You’ll probably notice there’s a [SWITCH BRIDGE] button next to [Transfer Mode]. The platform will automatically select the compatible bridge for your transfer based on the token you choose.

The PoS Bridge is recommended for transferring tokens from Polygon to Ethereum. It supports the transfer of Ether (ETH) and other Ethereum tokens, including ERC-20, ERC-721, ERC-1155, and more.

3. After selecting the token, enter the amount you want to send and click [Transfer].

4. Read the important notes and click [Continue] when you are ready.

5. You’ll also see the [Transfer Overview] pop-up with the estimated gas fee for this transaction. If you are ok with the gas costs, click [Continue] to proceed.

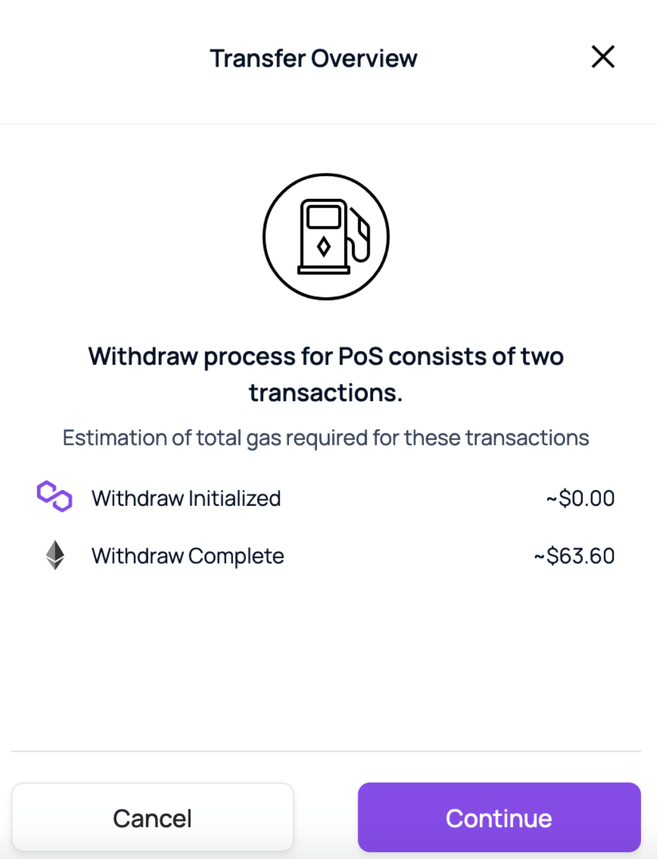
6. You can review your transaction details, including the token amount, the bridge you’re using, and the estimated gas fee before you click [Continue].

7. You need to sign and approve the transfer in your MetaMask wallet. Check if the details are correct and click [Confirm].

 Once confirmed, wait for the tokens to arrive in your Polygon wallet. You may click [View on Etherscan] to check the transaction status.

8. Next, you’ll see the transfer progress. Your withdrawal will be initiated on the network, and the PoS validators will verify your transaction. It might take up to 3 hours to complete, but there is no action required from you.

9. Once your transaction is validated, you need to claim the tokens to your MetaMask wallet. Click [Continue], and you can see the assets when the withdrawal is complete.